Introduction
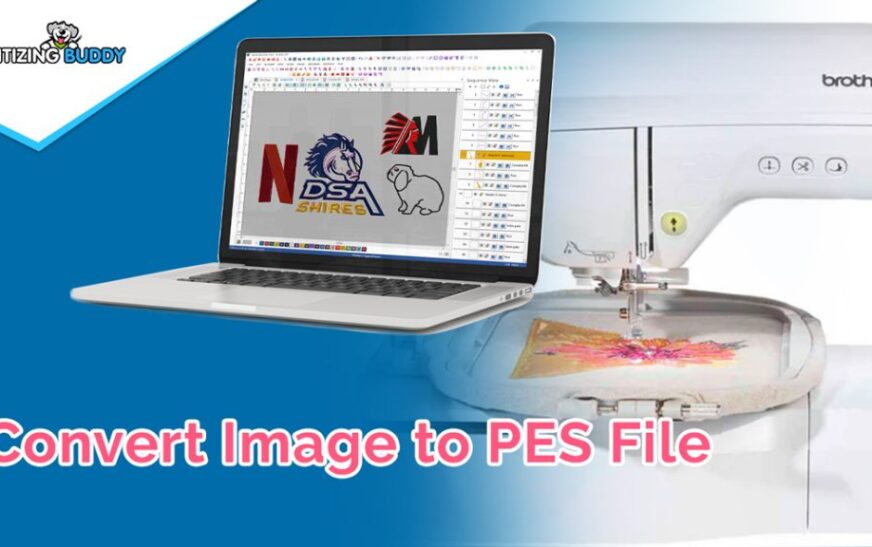
In the world of embroidery, converting images to PES files is a crucial step for creating custom designs. PES files are a common format used by embroidery machines, allowing for precise and detailed stitching of your chosen images. This guide will walk you through the process to convert images to PES files, ensuring your designs come to life with the highest quality.
Understanding PES Files
What is a PES File?
A PES file is a type of embroidery file format used primarily by Brother and Babylock embroidery machines. It contains data that instructs the embroidery machine on how to stitch a design, including the types of stitches, colors, and the sequence of stitching.
Why Use PES Files?
PES files are preferred because they ensure compatibility with a wide range of embroidery machines. They support complex designs, multiple thread colors, and detailed stitching patterns, making them ideal for high-quality embroidery work.
Preparing Your Image for Conversion
Choosing the Right Image
Not all images are suitable for embroidery. When selecting an image, opt for one with clear lines, distinct colors, and minimal intricate details. High-contrast images work best as they provide a clear guide for the embroidery machine.
Editing the Image
Before conversion, it’s essential to edit the image to enhance its suitability for embroidery. Use graphic design software to clean up the image, simplify complex areas, and adjust colors if necessary. Ensure the image is saved in a high-resolution format to retain detail during conversion.
Converting Image to PES File
Software Options
Several software options are available for converting images to PES files. Some popular choices include:
- Brother PE-Design
- SewArt
- Embird
- Wilcom TrueSizer
Each software has its unique features and pricing, so choose one that fits your needs and budget.
Step-by-Step Conversion Process
- Import the Image: Open your chosen software and import the image you wish to convert.
- Adjust the Settings: Configure the settings such as stitch type, density, and thread colors. This step is crucial for ensuring the final embroidery looks as intended.
- Auto-Digitize: Use the auto-digitize function to convert the image to a PES file. This function automatically generates the stitch pattern based on the image.
- Manual Adjustments: Review the auto-digitized file and make manual adjustments if necessary. This step allows you to fine-tune the design for better accuracy and detail.
- Save the File: Save the final design as a PES file.
Testing the PES File
Previewing the Design
Before stitching, preview the PES file using your embroidery software. This preview will show how the design will look when stitched, allowing you to make any last-minute adjustments.
Stitching a Test Design
Always stitch a test design on a scrap piece of fabric. This test run helps identify any issues with the stitch density, thread tension, or design placement. Make necessary adjustments based on the test results to ensure the final product is perfect.
Tips for Successful Image to PES Conversion
Simplify Complex Designs
Complex designs with too many details can be challenging to digitize accurately. Simplify your design by reducing the number of colors and minimizing intricate details. This approach ensures better quality embroidery.
Use High-Quality Images
High-quality images result in better embroidery designs. Ensure your image is high-resolution and clear. Avoid using blurry or pixelated images, as they can lead to poor embroidery quality.
Practice Makes Perfect
Converting images to PES files is a skill that improves with practice. Experiment with different images and settings to gain confidence and improve your digitizing skills.
Common Challenges and Solutions
Issue: Incomplete Stitches
Solution: Ensure the stitch density is set correctly. Increase the stitch density for areas with incomplete stitches to ensure full coverage.
Issue: Distorted Designs
Solution: Check the image resolution and quality. Distorted designs often result from low-quality images. Use high-resolution images and adjust the design settings for better accuracy.
Issue: Thread Breakage
Solution: Thread breakage can occur due to incorrect tension settings or poor-quality thread. Adjust the thread tension and use high-quality embroidery threads to minimize breakage.
Choosing the Right Software
Brother PE-Design
Brother PE-Design is a comprehensive embroidery software offering advanced features for image to PES conversion. It’s user-friendly and suitable for both beginners and experienced users.
SewArt
SewArt is an affordable option that provides basic to intermediate digitizing features. It’s ideal for hobbyists and small businesses looking for cost-effective solutions.
Embird
Embird is known for its versatility and extensive features. It supports multiple file formats and offers various plug-ins for enhanced functionality, making it a great choice for professional embroiderers.
Wilcom TrueSizer
Wilcom TrueSizer offers powerful tools for precise digitizing. It’s widely used in the industry for its reliability and advanced features, suitable for complex and detailed designs.
Benefits of Image to PES Conversion
Customization
Converting images to PES files allows for complete customization of embroidery designs. You can create unique and personalized designs that reflect your style and brand.
Professional Quality
PES files ensure professional-quality embroidery with precise stitching and detailed designs. This level of quality is essential for commercial projects and high-end products.
Versatility
PES files are compatible with various embroidery machines, making them versatile and convenient for different projects. Whether you’re working on apparel, accessories, or home décor, PES files deliver consistent results.
Conclusion
Converting images to PES files is a valuable skill for anyone involved in embroidery. With the right software and techniques, you can transform any image into a beautiful embroidery design. Practice, patience, and attention to detail are key to mastering this process. Whether you’re a hobbyist or a professional, the ability to create custom PES files opens up a world of creative possibilities.
Embark on your embroidery digitizing journey today with Digitizing Buddy and bring your designs to life with precision and elegance. Happy stitching!
This comprehensive guide has covered the essential steps and tips for converting images to PES files. Remember, practice makes perfect, and the more you experiment, the better your digitizing skills will become. Enjoy the process and the beautiful results of your custom embroidery projects!
Feel free to submit more guest posts through Links Building Servcies - Best Prices. Buy Author Account / 1$ Guest Post Here

